Quick Actions, Services, Droplets and more!
Assist your productivity with automated tasks, services and Droplets. This is a lot easier than your might think.
Using a combination of Workflows, AppleScripts and Command line tools, you can create just about any tool to help you work smarter (not harder).
”I am so smart! I am so smart! S.M.R.T! I mean S.M.A.R.T!” – Homer Simpson
These Quick Actions, Services and Droplets are all created with Automator on MacOS Catalina (10.15.4), but you can create them on any MacOS back to 10.9 (Mavericks) and most likely older. The location of the Quick Actions on older OS may be moved to the ”Services” section of the Finders contextual menu, and some GUI may also be slightly different than shown.
Moving stuff to specific folders


- Start Automator (located in your Applications folder)
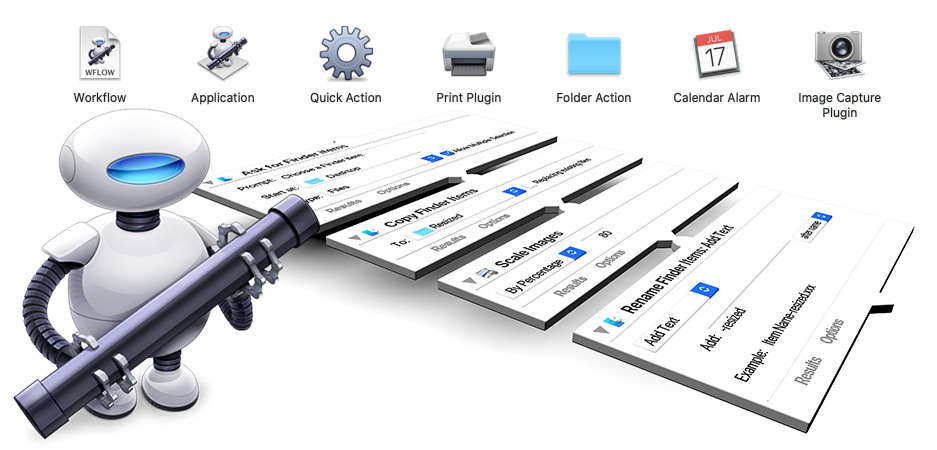
- Create a new Workflow (Cmd + N) if the dialog is not shown a startup, then select ”Quick Action” (the big blue gear-thingy) and click Choose.
- Set ”Workflow receives current” to ”Files or folders” in ”Finder”
- Set ”Image” to any image in the list your like. This is purely cosmetic and does not affect the workflow, but helps you to quickly locate the right Quick Action. Try a Folder image.
- Locate the Action ”Move Finder Items” in the Actions list and drag it under the initial input settings.
- Click the ”To” dropdown-menu and select any of the preset folders in the list or select ”Other...” if you wish to define your custom destination (like a folder on a different HDD or Server). Leave ”Replacing existing files” unchecked unless you really want to (aka ”at your own risk”).
- Hit ”Save...” (Cmd + S) and name this Quick Action appropriately, like ”Move to RAID” or ”Archive to Server”.
- In the Finder, right click a file/folder or a bunch of them, go to ”Quick Actions” and select your newly saved QA.
- Optional: Open System Preferences, go to Keyboard, click the ’Shortcuts’ pane, Click ’Services’ on the left and select your QA in the list, then click ’none’ and then ’Add Shortcut’, hit Cmd + F1 (or some other shortcut not already in use). To remove a Shortcut, highlight it and hit the Delete key.
Note that when ”Replacing existing files” is left unchecked in the Workflow, files/folders with the same names as other files/folders at the destination will not be moved and will remain at the current location.
Force-Eject a Volume


- Start Automator (located in your Applications folder)
- Create a new Workflow (Cmd + N) if the dialog is not shown a startup, then select ”Quick Action” (the big blue gear-thingy) and click Choose.
- Set ”Workflow receives current” to Folders” in ”Finder”
- Set ”Image” to any image in the list your like. For this QA you can choose your own image (min. 16x16 pxl). Like this

- Locate the Action ”Run Shell Script” in the Actions list and drag it under the initial input settings.
- Set ”Shell” to ”/bin/zsh” (or ”/bin/bash” for older OS) and set ”Pass input” to ”as arguments”.
- Copy and insert the following code in the field:
for f in "$@" ; do diskutil unmountDisk force "$f" done - Hit ”Save...” (Cmd + S) and name this Quick Action appropriately, like ”Force Eject”.
- In the Finder, right click a stuck Volume/DMG, go to ”Quick Actions” and select your newly saved QA.
Multiple Volumes/DMGs can be selected and ejected at the same time.
Unlocking locked files


- Start Automator (located in your Applications folder)
- Create a new Workflow (Cmd + N) if the dialog is not shown a startup, then select ”Quick Action” (the big blue gear-thingy) and click Choose.
- Set ”Workflow receives current” to ”File or folders” in ”Finder”
- Set ”Image” to any image in the list your like. You can search the Internet for an appropriate (royalty free) icon. We found this
 at our favorite icon-site IconFinder.com
 - Locate the Action ”Run AppleScript” in the Actions list and drag it under the initial input settings.
- Copy and insert the following code in the field:
on run {input, parameters} repeat with f in input try do shell script "chflags -R nouchg " & quoted form of (POSIX path of f) on error errmsg tell application "Finder" to display alert errmsg & return & (POSIX path of f) end try end repeat return input end run - Click the Hammer
 to check if the code is valid.
 - Hit ”Save...” (Cmd + S) and name this Quick Action appropriately, like ”Unlock All”.
- In the Finder, right click a locked file or a folder with locked files, go to ”Quick Actions” and select your newly saved QA.
This QA will unlock all selected items and any locked file within any of the selected folders and their sub-folders (recursive). You need to be owner of locked files or logged in as a super-user, otherwise the files will remain locked.